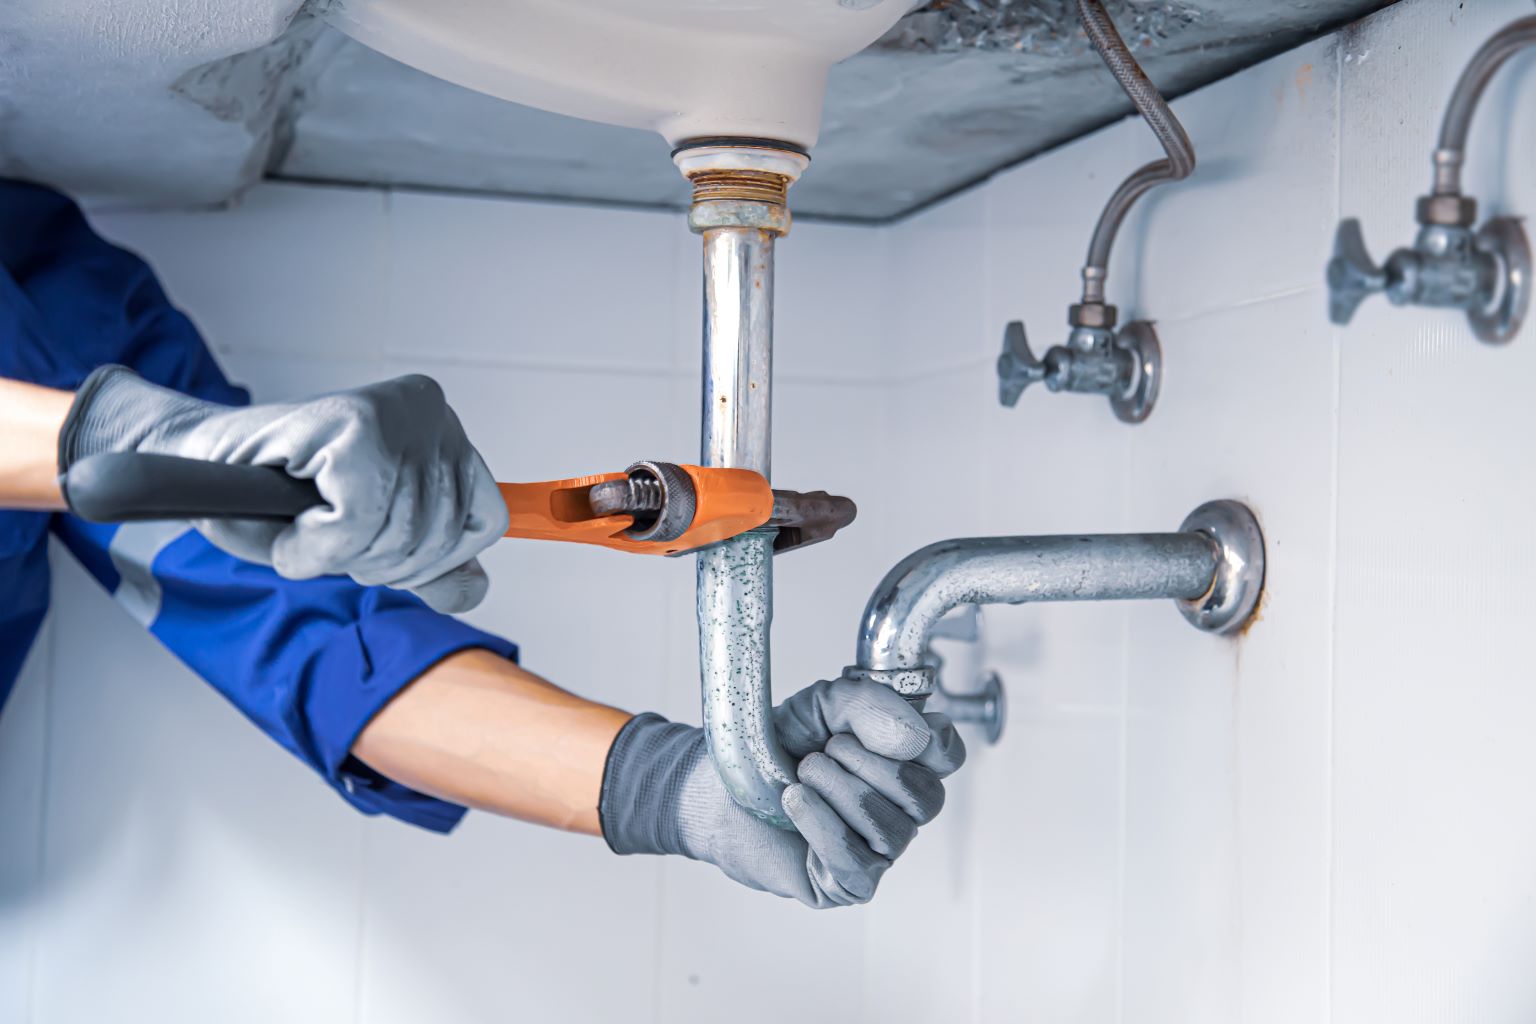
If left unaddressed, a leaking downpipe can cause significant damage to your property. From water pooling around your foundation to staining walls, resolving this issue instantly is essential. Replacing a Leaking downpipe may feel daunting, but you can handle the task efficiently with some knowledge and the right tools. Here’s a step-by-step companion to replacing a Leaking downpipe, icing a durable fix, and guarding your property.
1. Identifying the Problem Area
Before diving into the replacement, detect the source of the leak. Downpipe leaks frequently occur due to cracks, loose connections, or rust. Examine the entire pipe for visible damage and ensure the surrounding gutter is not contributing to the issue. Mark the damaged area for easy reference during removal.
2. Preparing for the Replacement
Gather the necessary tools and materials. You’ll need
- A replacement downpipe section
- A screwdriver or drill
- A sealant or plumber’s tape
- A hacksaw( if resizing is required)
- Measuring tape
- Ladder
Safety is paramount. Ensure you use a sturdy ladder and wear protective gloves to avoid injuries during the replacement process.
3. Removing the Old Downpipe
Carefully detach the Leaking downpipe from its fittings. Start by loosening the screws or brackets and securing it to the wall. However, gently cut through these areas without damaging the girding if the pipe is sealed with adhesive or plumber’s tape. For heavily rusted pipes, you might need extra force or a steel knife to break through the corroded sections.
4. Measuring and Cutting the New Downpipe
Measure the length of the old pipe and transfer those dimensions to the new downpipe. Use a hacksaw to cut the replacement pipe if necessary. Smooth rough edges with sandpaper to ensure a snug fit and help debris buildup inside the pipe.
5. Installing the New Downpipe
Position the new downpipe, aligning it with the existing fittings. Secure it using screws, brackets, or adhesive, depending on your setup. Apply sealant or plumber’s tape at all connection points to prevent future leaks. Ensure the pipe slopes slightly downward to encourage proper water flow.
6. Testing the New Installation
Once the new downpipe is installed, test it by pouring water into the gutter. Observe the flow to ensure no leaks or blockages occur. However, apply a fresh sealant to support the connections if water escapes from any joints.
7. Final traces and Maintenance Tips
After successfully replacing the downpipe, check that all screws and classes are tightly secured. Clear any debris from the surrounding gutter to help with the clog. Regular maintenance, like cleaning the downpipe and examining it for wear, can prolong its life and reduce the likelihood of leaks.
Contact We R Roofing!
For all your gutter and downpipe replacement needs, trust We R Roofing to get the job done right. Whether a simple repair or a full replacement, our expert team is here to help protect your home from water damage. Contact us for a free quote, and let us handle the hard work so you don’t have to! Call We R Roofing now or visit our website to learn more.
FAQs
Q1 Can I repair a Leaking downpipe instead of replacing it?
Yes, minor leaks can frequently be fixed with sealant or a patch. Still, if the pipe is considerably damaged or corrupted, replacement is the better long-term result.
Q2 Do I need professional help to replace a downpipe?
Not necessarily. However, you can handle the replacement yourself if you’re comfortable with introductory tools and working at heights. Professional backing is recommended for complex or multi-story setups.
Q3 How frequently should downpipes be audited?
Inspect downpipes at least twice a time, ideally ahead and after the rainy season, to catch any issues early.
Q4 What materials are best for downpipes?
PVC is feather-light and rust-resistant, making it a popular choice. Metal downpipes, like aluminium or galvanised steel, are more durable but may bear regular maintenance.
Q5 What causes downpipe leaks?
Common causes include rust, physical damage, blockages, and wear and tear at connection points. Regular cleaning and inspections can minimise these risks.
Why Choose We R Roofing?
Replacing a Leaking downpipe is crucial in protecting your property, but it doesn’t have to be stressful. We R Roofing specialises in gutter and downpipe reserves, ensuring your home remains safe and well-maintained. Whether you need a quick form or a full replacement, our experienced team is ready to help.
